FanCoolo WP 1.4: Symbol Attributes, Multisite and Claude MCP
FanCoolo WP 1.4 turns the plugin into a real design-system tool for Gutenberg. Symbols now take attributes, so one reusable Button can show different text in every card. You can nest your own blocks inside locked core blocks like Buttons, and one block library can serve a whole WordPress Multisite network. On the AI side, there are design system rules and a Claude MCP connection that lets you manage blocks and styles from a Claude chat. This post walks through each feature in the order the video shows it.
Light and dark theme
The FanCoolo editor now has a light and a dark theme. In the video, the editor UI changes to dark as soon as dark mode is turned on at the system level, and changes back when it's turned off.
Symbol attributes
Symbols are reusable PHP elements that you embed into blocks. Until now a Symbol always rendered the same content. In 1.4 you can give a Symbol typed attributes and set their values each time you use it.
Here is how the video builds a Card block with a reusable Button Symbol:
- Create a block called Card with a title and a paragraph in the Content tab.
- Click Add new, pick Symbols as the Component Type, enter a Symbol Title (here:
Button) and click Create. - Write the button markup, save, and add the Symbol to the Card:
<div <?php echo get_block_wrapper_attributes(); ?>>

    <h1>Title card</h1>
    <p>Lorem ipsum dolor sit amet consectetur adipisicing elit. …</p>

    <Button />
</div>
- Open the Button Symbol and go to its new Attributes tab. It says "No attributes defined" until you click + Add attribute. Add one called
labeland use it in place of the hardcoded button text. - Go back to the Card and reload so it picks up the attributes. A SYMBOL ATTRIBUTES panel for Button now appears under the sidebar, with a label field.
- You can type a fixed value there, e.g.
Call us label, and the code updates to:
<Button label="Call us label" />
- For a label that changes per card, add a
buttonLabelattribute to the Card block. Then use the dropdown on the Symbol's label field to pick Attribute: buttonLabel. The Symbol call now reads the value from the Card's attribute:
<Button label="$attributes['buttonLabel']" />
Back in the page editor, each Card has its own button text. The video shows "Save post" on one card and "Save post marko" on the other. Both come from the same Symbol, with the same markup and styling.
We think this is the most important change in the release. You build components once and reuse them across cards and blocks. Only the data changes, so every instance keeps the same markup and styling.
Nesting components inside core blocks
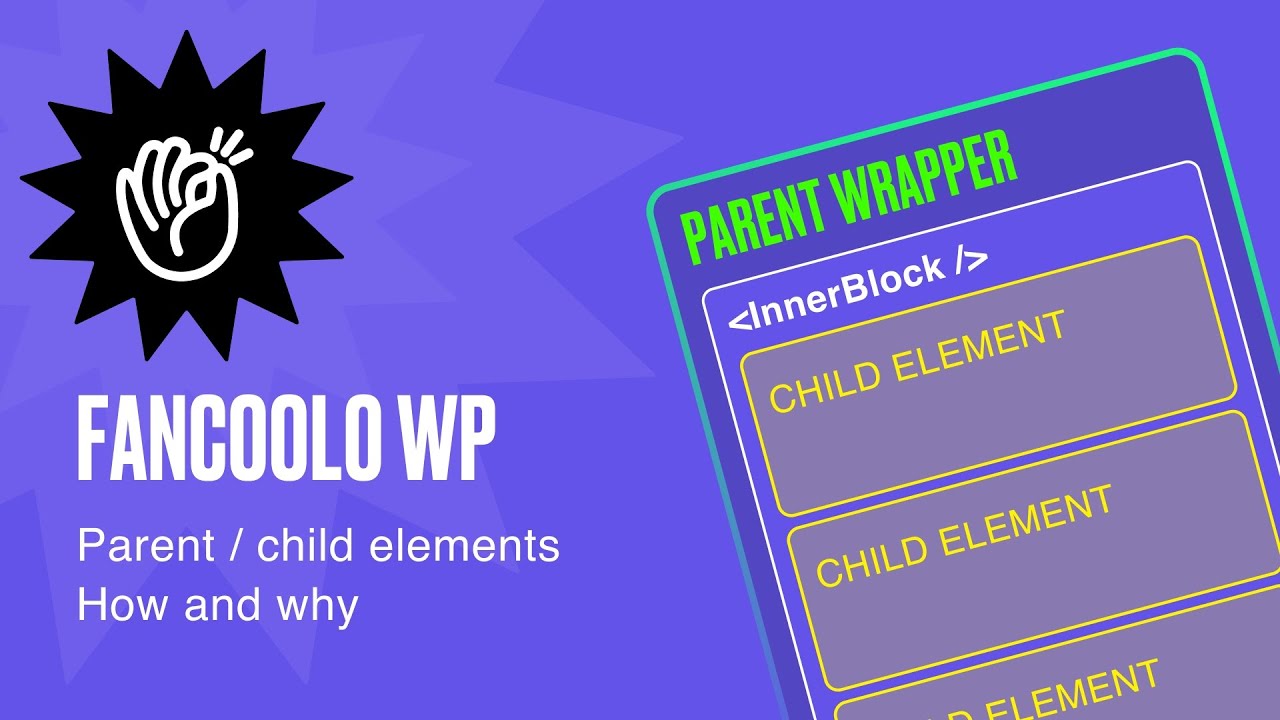
Some core blocks only accept specific children. The core Buttons block only accepts Button, and the core Button can't hold an icon next to its label. In 1.4 you can register your own block as a valid child of a block like that.
- Create a new block, here called Button with icon, with a
<span>label and an SVG icon pasted in:
<div <?php echo get_block_wrapper_attributes(); ?>>

    <span>Label example</span>

    <svg width="134" height="134" viewBox="0 0 134 134" fill="none" xmlns="http://www.w3.org/2000/svg">
        <path d="M97.2214 55.5573…" fill="black"/>
    </svg>

</div>
- In the Settings sidebar, turn on Inner Blocks Settings. This shows Allowed Block Types, Block added by default, Lock Template and Parent Block.
- In Parent Block, pick
core/buttons. The helper text reads "Limit when block will be available in inserter." - Add some basic styles in the Style tab:
.wp-block-fancoolo-button-with-icon {
  background-color: lime;
  display: flex;
}
- Save and reload the page editor. Inside a core Buttons block, the inserter now offers Button with icon next to the regular Button, so both sit in the same wrapper.
In a real project you'd also add an attribute for the label, as in the section above.
Multisite support
FanCoolo WP now works on WordPress Multisite. In the video:
- In Network Admin → Plugins, FanCoolo WP (version 1.4.0) is network activated. The FanCoolo WP menu shows up in the network admin.
- Add the license.
- Go to Sites → Add Site and create a subsite (here
testwebsite). - Open a page on the subsite. The Test block, which was built on the main site, is available there too.
You build your blocks and Symbols once on the main site, and every subsite gets them. That keeps blocks looking and behaving the same across the network.
AI sidebar with code preview
The block editor has an AI tab in the right sidebar. It can generate PHP template code, create SCSS styles, add view.js interactivity and define block attributes. The video uses a local model, Ollama - qwen3-coder:30b.
When you send a prompt, the result appears in a Preview Changes panel with Content, Style and Attributes tabs. You then choose Apply or Discard. That preview matters.
The first prompt was "add headline as h3 and add attributes". The model added an image attribute we didn't ask for. We wrote "headline" instead of "title" on purpose because models tend to read "title" as an image title, but it still happened here. A follow-up, "not image just a title", fixed it. After Apply, the block got a title attribute and a conditional render:
<?php
$title = $attributes['title'] ?? '';
?>
<div <?php echo get_block_wrapper_attributes(); ?>>
  <?php if ($title): ?>
    <h3 class="wp-block-fancoolo-button-with-icon__title"><?php echo esc_html($title); ?></h3>
  <?php endif; ?>
</div>
AI Design System rules
Under FanCoolo WP → AI there are three tabs: MCP, API Keys and Design System. The Design System page holds project instructions and design language. AI reads them on every generation "so all blocks feel like one cohesive site". The page has:
- Project Instructions: high-level rules for how AI should build blocks on this project.
- Include theme.json tokens in AI prompts: sends normalized theme colors, typography, spacing and font families from WordPress global settings.
- Layout Patterns and more fields below.
The page can also suggest rules from your existing site. It pulls values from theme.json for you to review and edit.
In the video we kept one rule: all titles should be red. Then:
- In the block's Style tab, send the prompt "update style based on our rules".
- The AI changes the title color to the theme's red preset,
var(--wp--preset--color--vivid-red). - Next, we added a custom color named
redto the palette in the Site Editor's global styles and reloaded so FanCoolo could pick it up. - After running the same prompt again, the AI used the new custom color and applied it to all headings:
.wp-block-fancoolo-button-with-icon {
  &__title {
    font-size: var(--wp--preset--font-size--large);
    margin-bottom: var(--wp--preset--spacing--30);
    color: var(--wp--preset--color--vivid-red);
  }

  h1, h2, h3, h4, h5 {
    color: var(--wp--preset--color--custom-red) !important;
  }
}
The AI reads your site's real tokens, not generic values. Test your rules against the model you use and adjust the wording. Larger models like Claude or Codex follow rules better, but even a local model picked them up here with some fine-tuning.
Claude MCP integration
The last feature is an MCP server, so you can drive FanCoolo from the Claude desktop app on your existing Claude subscription. For now it's built for Claude, and we plan to support other clients later.
The MCP tab (Claude Connection) shows the Connection Details: Site, URL, Endpoint (/wp-json/fancoolo-mcp/v1/mcp), Bridge status and the Config File path (~/Library/Application Support/Claude/claude_desktop_config.json on macOS, with a Copy button).
- Create an application password. The video mentions the WordPress user profile, and the MCP tab also has a Create Application Password button next to the App Password field.
- FanCoolo generates the server entry with your password filled in. Copy it:
"fancoolo-fancoolo-local": {
  "command": "node",
  "args": [
    "/path/to/wp-content/plugins/fancoolo/bridge/mcp-server.js"
  ],
  "env": {
    "FANCOOLO_URL": "https://fancoolo.local",
    "FANCOOLO_USERNAME": "your-username",
    "FANCOOLO_APP_PASSWORD": "xxxx xxxx xxxx xxxx xxxx xxxx",
    "NODE_TLS_REJECT_UNAUTHORIZED": "0"
  }
},
- Open
claude_desktop_config.jsonand paste the entry inside"mcpServers": { }. The path is different on Windows. If you already have other MCP servers, add a comma and continue the list. - Restart Claude.
Then you can talk to your sites:
- "list websites": Claude returns every registered site, its URL, transport and PHP version, and marks which one is active.
- "create a style for images i need some red border and shadow call it shadow-red": Claude finds the tools, reads the rules and creates the style. In the page editor, the shadow red style is then available for an Image block.
- "border should be 10 pixel": a follow-up prompt to fine-tune the style.
Our first attempt failed. We had reset the database, so the old application password no longer existed. With an invalid app password the MCP server can't reach the site. Creating a new password, updating the config and restarting Claude fixed it. It also runs much faster than the local model from the earlier sections.
FanCoolo's Custom AI Instructions apply here too. They're appended to the base FanCoolo rules, and Claude reads them each time it calls get_rules before it creates or updates blocks.
FAQ
How do I pass different text into a reused FanCoolo Symbol?
Add an attribute (e.g. label) in the Symbol's Attributes tab and use it in the Symbol markup. In the parent block, set it in the SYMBOL ATTRIBUTES panel, either as a fixed value or bound to one of the block's own attributes (e.g. buttonLabel). Then every instance can show different text.
Can I add a custom block inside the core Gutenberg Buttons block?
Yes. Turn on Inner Blocks Settings for your FanCoolo block and set Parent Block to core/buttons. Your block then shows up in the inserter inside Buttons, next to the core Button.
Does FanCoolo WP work on WordPress Multisite? Yes, since 1.4. Network-activate the plugin and build your blocks on the main site. Every subsite can use them.
How do I connect FanCoolo WP to Claude over MCP?
Create an application password, copy the generated server entry from FanCoolo WP → AI → MCP, and paste it into mcpServers in claude_desktop_config.json. Then restart Claude. If the app password is invalid, Claude can't access the site.
Can the AI follow my brand colors?
Yes. Add rules on the Design System page and turn on Include theme.json tokens in AI prompts. Generated styles then use your theme's presets, including custom palette colors like custom-red.
Get FanCoolo WP → dplugins.com