Autocomplete Your Own CSS Classes in Gutenberg: Plain Classes 1.3
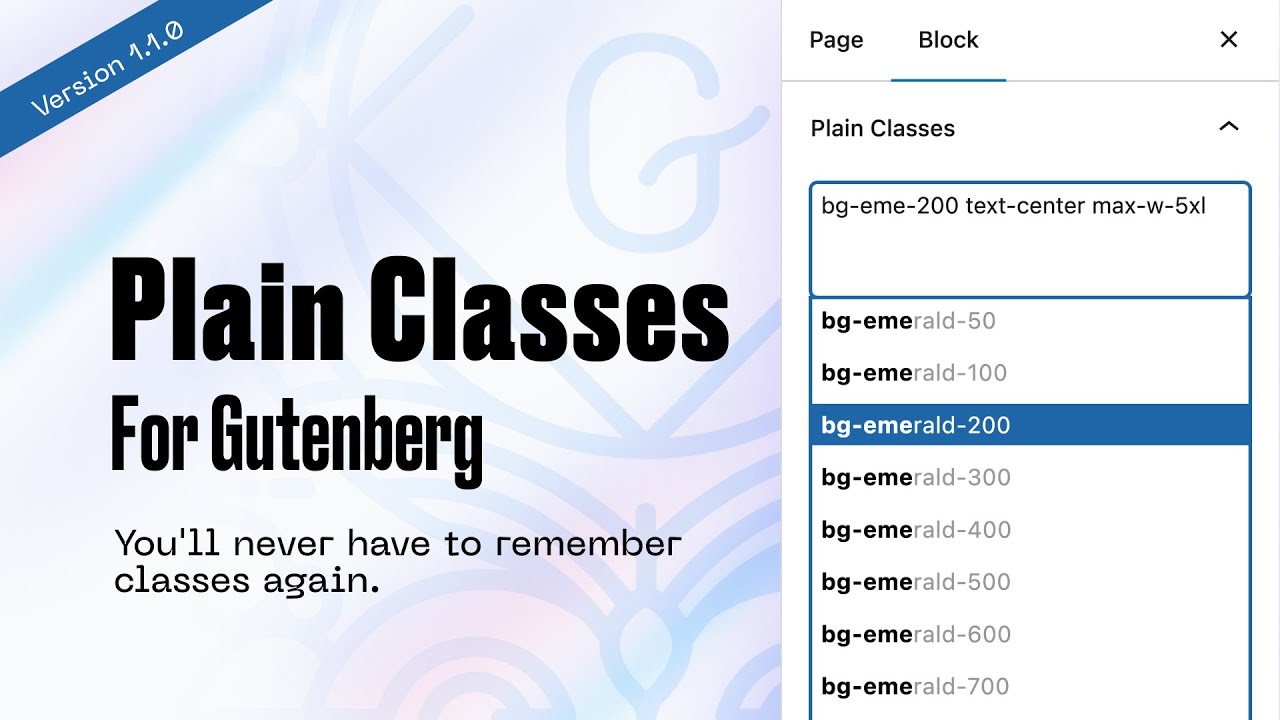
If you write your own utility CSS or use a small framework in a child theme, you still have to remember every class name when you type it into a Gutenberg block. Plain Classes 1.3.0 gives you autocomplete for your own CSS classes in Gutenberg. It scans your stylesheets, collects the classes already used in your content, and re-scans when your CSS changes. You stop looking up class names in a CSS file, and new classes show up in the editor on their own.
Enable the front-end Class Assistant
Browser DevTools shows you everything, including a lot you don't need when you only want to know which classes are on an element. The Class Assistant is a lighter panel for exactly that job.
- Go to Tools → Plain Classes Gutenberg → Settings.
- Under Enable Features, check Enable FrontEnd Assistant.
- Click Save Changes.
We look at what the assistant does in the last section.
Set which post types track classes
A class list you build by hand gets out of date fast. Plain Classes can take classes straight from your content, so the list grows while you work.
On the same Settings screen, under Post Types for Class Scanning, check the post types to scan. In the video that's Posts and Pages, and Media and a custom Projects type are also listed. When you save a post of one of these types, Plain Classes reads the classes from it and adds them to your list.
Fetch classes already used in content
This is useful when you take over an existing site or a block theme and want to know which classes are already in use.
In the demo the class list starts empty (Manage Classes shows "No classes found."). Then we open the homepage in the editor and select a Group block. The Plain Classes panel in the block sidebar shows its class (is-style-section-1). You can edit it there, and the canvas updates live. We click Save, go back to Manage Classes, and every class from that page is there: wp-block-group, alignfull, has-text-align-center, is-style-section-2, is-style-section-3 and more.
This also shows you what the theme offers. Typing is-style-section lists every section style the theme uses, so you can try another one without reading the theme's CSS.
Import classes (comma/line/JSON) and export
If you already have a list of classes, you can paste it in instead of adding them one at a time.
- Open the Import Classes tab.
- Under Import Format, pick Comma separated, One per line or JSON File.
- Paste your classes (the placeholder is
class1, class2, class3) and click Import from Text.
To reuse a set on another project, click Export JSON on the Manage Classes tab. It downloads a file like classes-export-2025-07-21.json. Delete All Classes clears the list (you'll get a confirmation dialog first).
Track origin: imported vs fetched vs scanned
When classes come from three sources, you need to know which is which so you can clean up without breaking anything.
Plain Classes records where each class came from. The Display dropdown filters the list by All, Imported, Gutenberg or Scanned, and shows a count for each. Layout switches between Wrap (compact tags) and List (one class per row).
The search field also does search and replace. In the demo we replace style with marko across the list and get "Successfully replaced 6 classes! (6 Gutenberg)". Then we change it back.
Origin also matters when you export. If you export classes that were fetched from Gutenberg and import that JSON on a new project, they come in as Imported. That makes a good starting set for the next site.
Scan your own CSS framework file
This is the main use case. You register a stylesheet in a child theme or custom theme, write your utility classes, and then have to remember them. Importing works, but scanning the CSS file itself is quicker.
In the video the Twenty Twenty-Five theme loads an extra theme.css from functions.php. It contains simple utilities and components, for example:
/* Buttons */
.btn {
  padding: 0.5rem 1rem;
  border: none;
  border-radius: 0.25rem;
  cursor: pointer;
  text-align: center;
}

.btn-primary { background-color: #007bff; color: white; }
.btn-secondary { background-color: #6c757d; color: white; }
.btn-danger { background-color: #dc3545; color: white; }
To scan it:
- Go to Scan Classes. Under WP Content Files Structure you'll see Themes, Plugins and Uploads, with the number of CSS/SCSS files in each.
- Expand the tree and check a whole folder or single files (here:
twentytwentyfive→theme.css). They appear under Selected Items, and Clear All empties the selection. - Click Scan Selected Files.
Every class in the file now shows up in Manage Classes (alert, btn-primary, card-body, d-flex, flex-row and so on). In the editor, type btn in the Plain Classes field of a paragraph block, pick btn btn-primary, and the button style applies right away. Typing fle suggests d-flex, flex-row and flex-column.
The scan picks up class names even if their rules are empty. We added an empty .marko class to the file, re-scanned, and searching for it in Manage Classes found it.
Auto re-scan on save
Scanning a file once isn't enough when the CSS changes every day. Old class names stay in the list and new ones are missing. Plain Classes now re-scans automatically when you save a Scripts Organizer code block.
We want to add integrations for more code snippet plugins. Tell us in the YouTube comments which ones you use, because we're a small team and prioritize by demand.
The setup in the video:
- In Scan Classes, clear the old selection and select the Uploads CSS folders. Scripts Organizer writes its compiled files there, so new code blocks are picked up too.
- Create a Scripts Organizer code block (SCORG CSS, type SCSS, Create file checked) that generates spacing utilities from a map:
// Define your spacing scale
$spacing-scale: (
  0: 0,
  1: 0.25rem,
  2: 0.5rem,
  3: 0.75rem,
  4: 1rem,
  5: 1.25rem,
  6: 1.5rem
);

// Generate margin utility classes
@each $key, $value in $spacing-scale {
  .p-#{$key}  { padding: $value; }
  .pt-#{$key} { padding-top: $value; }
  .pr-#{$key} { padding-right: $value; }
  .pb-#{$key} { padding-bottom: $value; }
  .pl-#{$key} { padding-left: $value; }
  .px-#{$key} { padding-left: $value; padding-right: $value; }
  .py-#{$key} { padding-top: $value; padding-bottom: $value; }
}

@each $key, $value in $spacing-scale {
  .m-#{$key}  { margin: $value; }
  .mt-#{$key} { margin-top: $value; }
  .mr-#{$key} { margin-right: $value; }
  .mb-#{$key} { margin-bottom: $value; }
  .ml-#{$key} { margin-left: $value; }
  .mx-#{$key} { margin-left: $value; margin-right: $value; }
  .my-#{$key} { margin-top: $value; margin-bottom: $value; }
}

@each $key, $value in $spacing-scale {
  .gap-#{$key}  { gap: $value; }
}
- Click Update in Scripts Organizer. Plain Classes re-scans the file, and the generated classes (
p-1,mx-4,gap-6…) appear in Manage Classes.
The re-scan replaces the old list instead of adding to it. In the video we renamed the map keys from numbers to t-shirt sizes (sm, base, md, lg) and saved. The numeric classes disappeared and p-base, gap-lg, mx-sm and the rest took their place. Later we added xl and xxl keys, and after a save p-xxl was available in the editor.
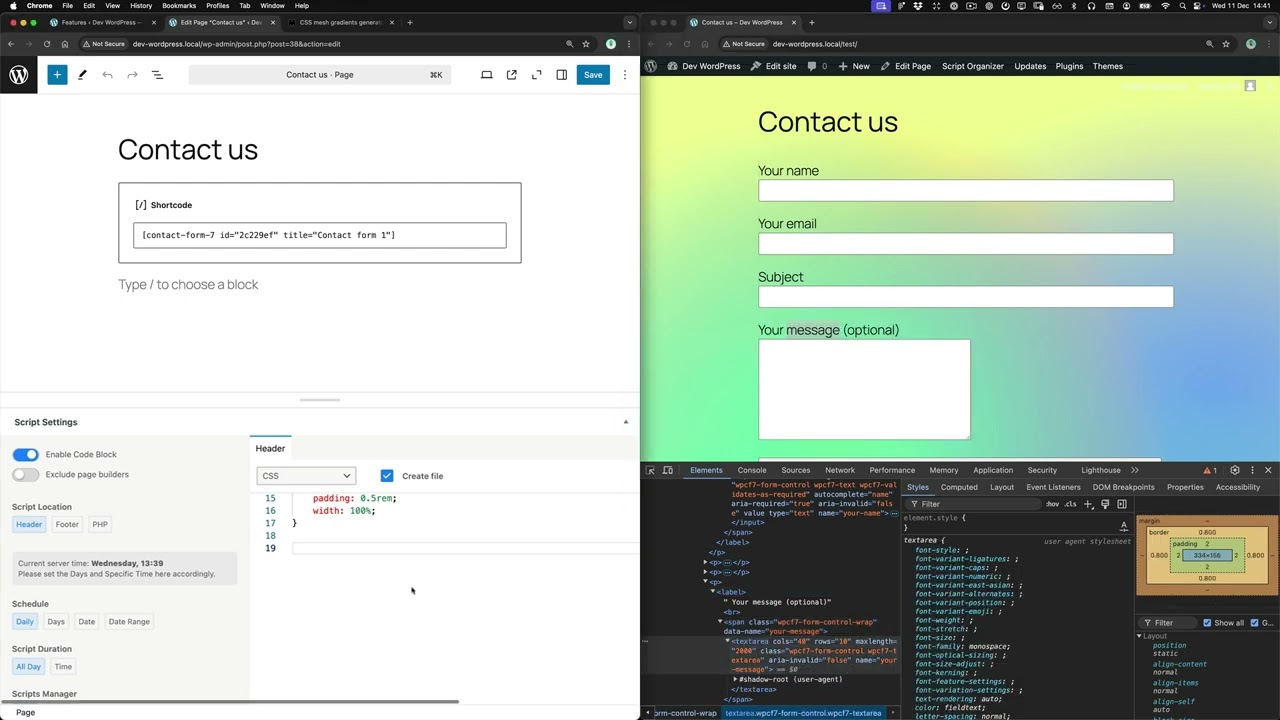
This lets you work in two tabs: Scripts Organizer in one, the block editor in the other. You don't need to open the Plain Classes admin page at all. Save the SCSS, reload the editor, and the new classes autocomplete. For now you do have to reload the editor. Picking up changes without a reload is planned.
The visual Class Assistant
When something looks wrong on the front end, you want to know which classes are on the element and which rule is winning. DevTools can tell you, but you have to dig through a lot of unrelated output. The Class Assistant shows only the class-related information.
On the front end, select an element and the panel shows:
- Selected Element: the tag, e.g.
h2ordiv. - Edit Classes: the element's classes. Change them and click Update to see the result right away. For example, set
p-xxlon a group and watch the padding change. - Change Element: PARENT, CHILD, PREV and NEXT buttons to move through the DOM and find what is affecting your layout.
- CSS Rules: a toggle for the rules list. Each selector is shown with its declarations, and a checkbox on each declaration turns it off. That's how you find out what is overriding what. Turn the toggle off to hide the list.
Who is this for
- Developers who keep their own utility CSS in a child theme or custom theme and want Gutenberg autocomplete without adopting Tailwind CSS.
- Scripts Organizer users who write SCSS utilities and want new classes available in the editor after a save and a reload.
- Site builders taking over a block theme who want to see which classes and section styles it already uses.
- Anyone moving a class set between projects with JSON export and import.
FAQ
Can I get Gutenberg class autocomplete for my own CSS, not just Tailwind CSS? Yes. Plain Classes scans any CSS/SCSS file under Themes, Plugins or Uploads and adds every class it finds to the autocomplete in the block sidebar's Plain Classes field.
Do I need to re-scan when I change my CSS? For Scripts Organizer code blocks, no. Saving the block triggers a re-scan that also removes classes that no longer exist. After that, reload the block editor to get the new classes.
Can I see which classes my existing pages already use? Yes. Choose the post types under Post Types for Class Scanning. Every time you save a post of those types, its classes are added to your list, marked as Gutenberg origin.
How do I move my class list to another site? Click Export JSON in Manage Classes, then on the new site use Import Classes → JSON File. Imported classes are marked Imported, whatever their origin was on the old site.
Is the Class Assistant a replacement for DevTools? It covers one job: seeing and editing the classes on an element, moving to its parent or child, and switching individual CSS declarations on and off. For that job you don't have to dig through the full DevTools panel.
Get Plain Classes for Gutenberg → dplugins.com