Compile Tailwind CSS v4 in WordPress: Winden 2.9.0 Update
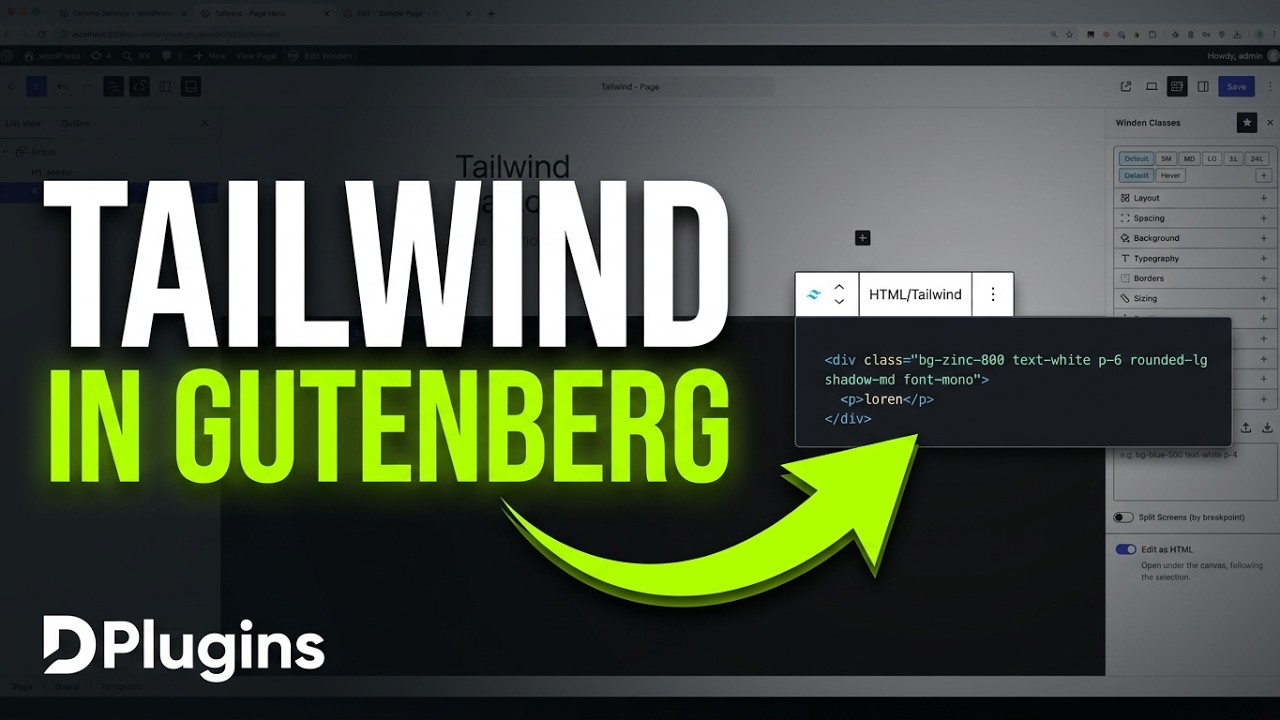
Winden 2.9.0 is built around Tailwind CSS v4. In this video we show how to compile Tailwind CSS v4 for your WordPress site with hot reload and no more UI blink. When you save a page in Gutenberg, the production CSS is rebuilt for you. We also go through the new settings layout, the reworked Wizard calculator, and how to load external plugins like DaisyUI.
Why we dropped Tailwind v3
The biggest change in 2.9 is that the workflow no longer depends on Tailwind v3. Tailwind is moving forward with version 4, and that is where all the updates happen. The Config tab is still there for older plugins that need it. If you don't need it, you can work only in the Style (CSS) tab.
A new install's Main Style starts like this:
@layer theme, base, components, utilities;

@import "tailwindcss/theme.css" layer(theme);
@import "tailwindcss/preflight.css" layer(base);
@import "tailwindcss/utilities.css" layer(utilities);

@plugin "@tailwindcss/typography";
@plugin "@tailwindcss/forms";
The Typography and Forms plugins ship with Winden and are added by default. If you don't need them, delete the two @plugin lines and save. Winden then compiles without them because they are no longer called.
Multiple style files (tabs)
Next to Main Style there is now a + button, so you can create more style files:
- Click + next to Main Style.
- Give the file a name.
- Choose whether to wrap it in the
theme,base,componentsorutilitieslayer, or add it without a layer.
Some users add a lot of custom classes, and one file gets cluttered after a while. Split files are much easier to maintain.
Full dark theme for the editor
The contrast icon in the top-right corner, next to the settings gear, now switches the whole Winden UI to dark mode. Before, only the code editor changed.
Hot reload: live CSS updates
CSS changes now show up on the front end while you type, without saving and refreshing. In the video we have the Winden editor on one side and the site on the other. We add:
body{
  background: red;
}
The page background turns red right away. Then we swap it for a Tailwind utility and change the shade:
body{
  @apply bg-primary-400;
}
Pick a darker or lighter shade and the preview updates at once. The same goes for the Wizzard tab: change a value there and the page updates too.
No more blink: CSS always preloaded
The biggest change is under the hood. Pages no longer blink when they load. Winden now always loads the compiled CSS file. If a class is missing from that file, it is generated in the browser. When you save, you get a production-ready website.
Deep builder integration and auto-regenerate
This is the part we are most excited about. We removed the preflight (base) import so there is no reset, then did this in Gutenberg:
- Enable autocomplete for your builder in Winden's settings (we had forgotten to turn it on in the video).
- Open a page in Gutenberg and select a block. In the video it's a Grid block.
- Add classes in the Plain Classes field. We used
bg-red-700andp-16. - Click Save in Gutenberg. Don't open Winden.
- Open the compiled
output.cssfrom the Cached button, or reload the front end.
The new classes are already in the compiled file:
.bg-red-700 {
  background-color: var(--color-red-700);
}
.p-16 {
  padding: calc(var(--spacing) * 16);
}
When you save a post, the CSS is rebuilt. You no longer have to go back to Winden and click Save to rebuild the production CSS. Every update in the builder gives you a production-ready file.
Restructured settings overview
Click the gear icon to open Settings. It now has five tabs: Builders, Editor, Production, Files Scan and License.
- Builders: everything related to builders. This covers toggles for Bricks Builder, Bricks Builder 2.0, Oxygen Builder Classic, Oxygen Builder 6 and Elementor Builder. You also get Pass Wizard data to Builder and Theme for Gutenberg (FSE) and Bricks 2.0, and Dequeue Styles for Gutenberg (FSE), Bricks Builder and Oxygen Builder.
- Editor: choose plain CSS or SCSS.
- Production: Disable Dev Mode loads only the compiled
output.css, without the scripts that compile classes in the browser. That makes the site even faster. Inline Compiled CSS adds the CSS as an inline style instead of an external file. That saves one HTTP request, and because these files are usually small, it helps performance. - Files Scan: you no longer type paths by hand. Tick folders in the WP Content Files Structure tree, for example a theme folder, and see what will be scanned under Selected Items. Use Scan only these file formats (leave empty to scan all) to limit file types. Save, and Winden scans and compiles.
Wizard calculator: font size, spacing and radius
We reworked the logic for the calculated scales in the Wizard: font sizes, spacing and border radius. By default the Wizard works as before, with a few changes:
- The base value is now a radio button next to each step instead of a dropdown. The step you select gets the MIN and MAX values. Steps above it are calculated with a negative ratio, and steps below it with a positive ratio.
- Under SCALE TYPE you can choose Fluid or Fixed. With Fixed you still pick a ratio, but you fill in one value instead of min and max.
- You can still override any calculated value, for example to round it.
Pixel-to-rem for Figma handoff
Under CALCULATED UNIT you can still choose REM or PX. Even with REM selected, the inputs are in pixels. Most people move designs from Figma to WordPress, and Figma shows values in pixels, not rem. So you copy the pixel values from Figma into Winden and Winden does the rem math. REM SIZE (PX) sets the pixel value of 1rem (16 by default).
Manual step mode
Sometimes you don't want a ratio, just your own values. Set MODE to Manual:
- Enter your step names in STEPS (COMMA SEPARATED), for example
xs, sm, base, md. - Winden creates one field per step under Calculated Sizes.
- Type any value into each field. In the video we used 16, 20, 48 and 96.
The preview next to each field shows how each step maps, from the first step to the last.
External CDN plugins (DaisyUI)
External Tailwind plugins that load from a CDN work too. In the video we load DaisyUI:
- Follow the DaisyUI setup from our docs and paste it into the style file.
- Copy the example markup from the DaisyUI Tailwind Play playground into a page, so you don't have to build components one by one.
- Open the page on the front end.
Buttons, themed buttons, tabs, toggles, checkboxes, radios, a card, a dropdown, a modal and steps all render the same as they do in the playground. The internals were rewritten, so external plugins now work as expected.
FAQ
Does Winden 2.9 still support Tailwind CSS v3 config? Yes. The Config tab is still there for older plugins that need it. It's just no longer required: you can build everything in the Style (CSS) tab with Tailwind v4.
Do I need to save in Winden after editing a page in Gutenberg? No. When you save a post in Gutenberg, Winden rebuilds the production CSS, including any new classes you added.
How do I stop the in-browser compiler from loading on production?
Go to Settings → Production and enable Disable Dev Mode. Only the compiled output.css loads. You can also turn on Inline Compiled CSS to save an HTTP request.
Can I remove the built-in Typography and Forms plugins?
Yes. Delete the @plugin "@tailwindcss/typography"; and @plugin "@tailwindcss/forms"; lines and save. Winden compiles without them.
Why does the Wizard ask for pixels when I chose rem? Figma gives values in pixels. You enter the pixel values from your design and Winden converts them to rem using REM SIZE (PX).
Get Winden → dplugins.com